The feedback is filled with colorful photos and consistent comments of the whole process. We will tell me more about the original plans of the author and its implementation.
First of all, our narrator drew a diagram of the installation of rods. It was supposed to make grounding in three-points along the fence with neighbors, stepping back from it for about half a meter. It was necessary to bury the central ground electrode to the depth of 6 meters. And the other two to 4.5 meters, setting at the edges of the ground electrode at the same distance of 6 meters.
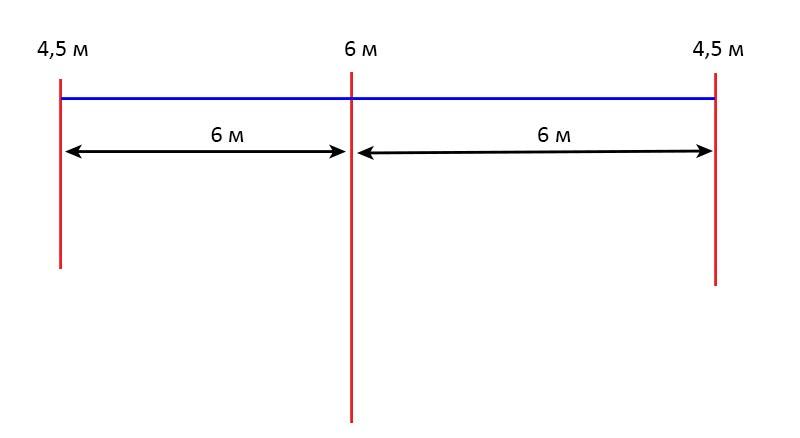
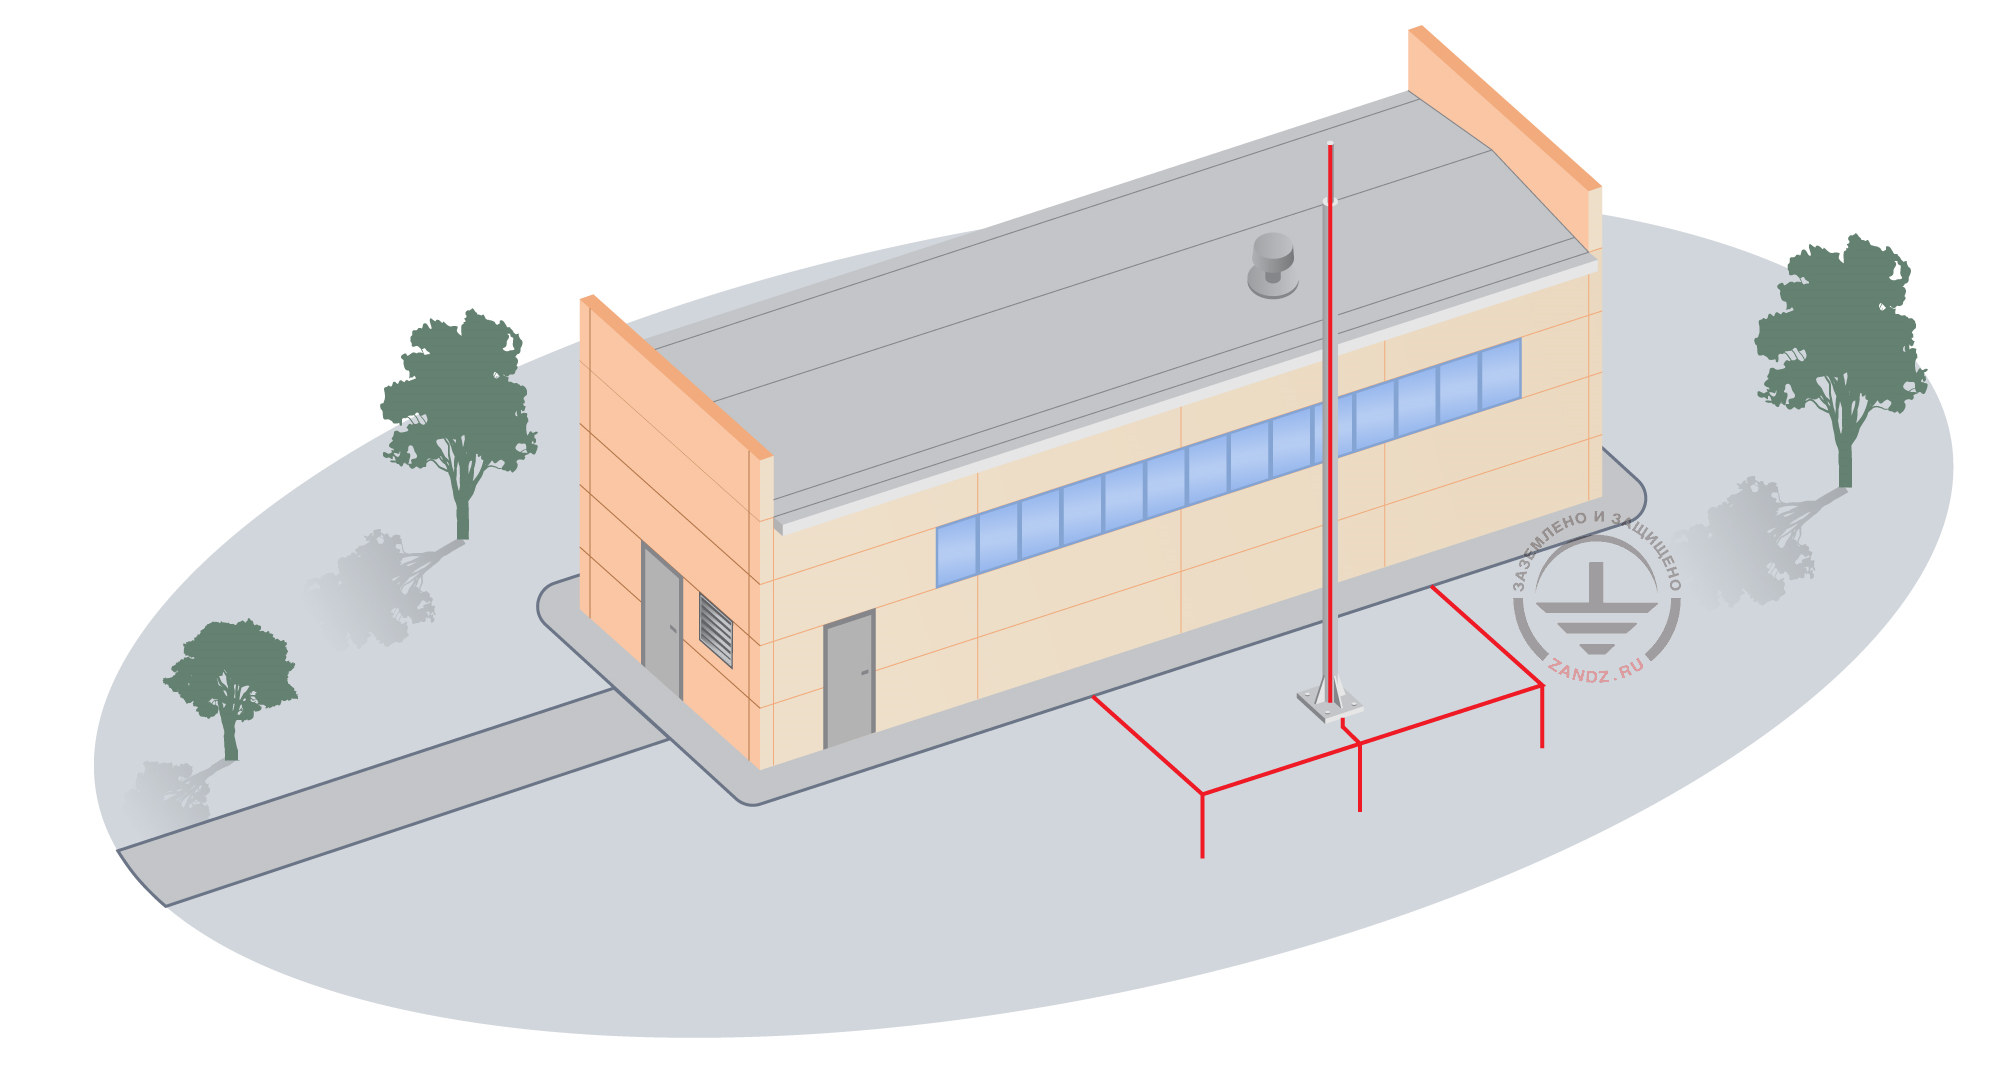
Ground rods installation project
Secondly, the author prepared two 6-meter conductors to connect the rods by welding two pieces of steel tape 3 meters long into one long 6-meter tape. Platforms with two bolts for the future lightning protection were made at the ends of each tape. A perforator Makita HR4011C with the force of impact of 9.5 J was used to drive the rods into the ground.
Here is what was observed when installing the rods into the ground:
- the first rod 1.5m long was driven very easily;
- the second rod was driven also quite easily after screwing to the first one through the coupler. We had to hold the rod with the glove for welding, since the rod got very hot at the impact site;
- it was not so fast with the third rod, because it's been already 4.5 meters. It is necessary to hold the rod with the hand, so it does not undwind;
- it was hard to drive the fourth rod, which in the result gave 6 meters of length. It was required to apply physical force to the perforator, pushing it from the top. One of the guides broke during hammering.
In the result of hammering the rods, the narrator came to the conclusion that using a perforator with a higher force it would be easier to work. And it would be easy to install the ground electrode 15 meters long.
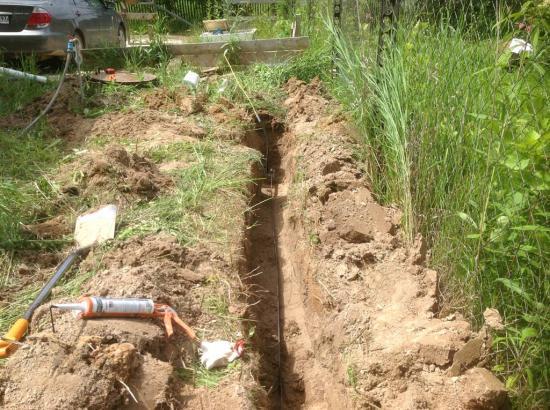
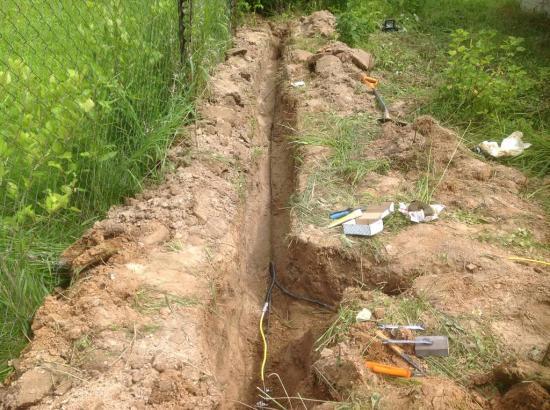
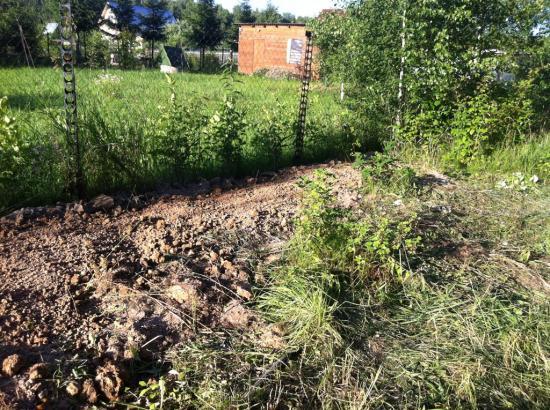
Thirdly, the user prepared the location of grounding with respect to the location of the house. It was supposed to place the whole contour along the fence and the house. A trench 40 cm deep was dug at the distance of 0.5 meters from the fence, and 3 meters from the house.
Ground contour layout project
Забор с соседями- neighbours’ fence
Заземлитель – ground electrode
Стальная полоса – steep tape
Проводник омедненный - copper-bonded conductor
At the time of installing grounding, our author did not have free space for the installation of the third ground electrode. So right now only two rods are physically installed - 6 and 4.5 meters long.
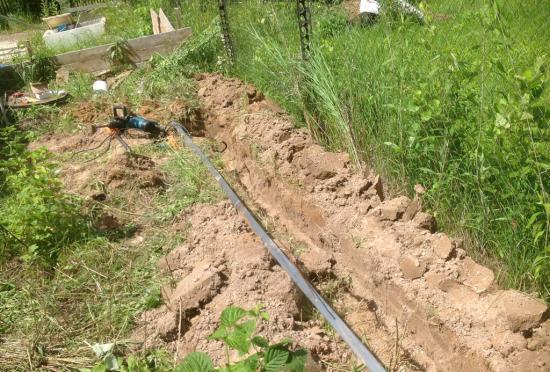
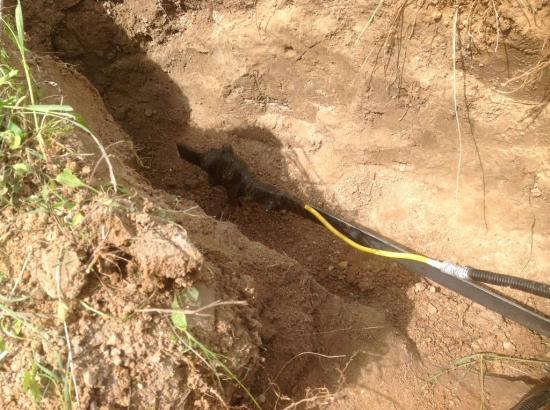
Trench for conductor
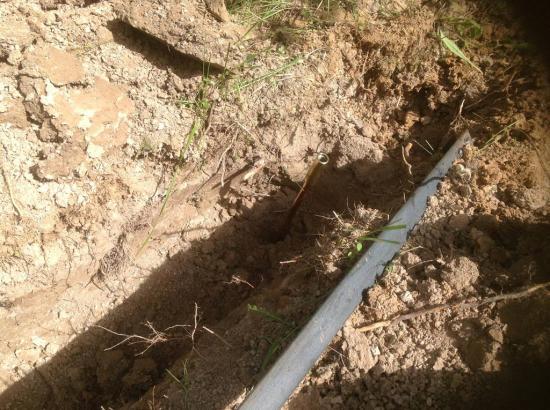
Embedded rod
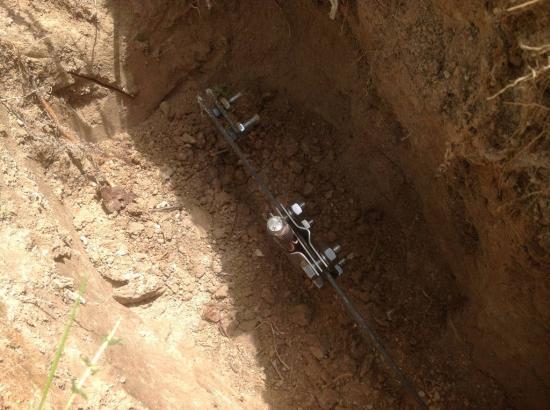
Clamp coupling rod and conductor
Tape laying into the trench
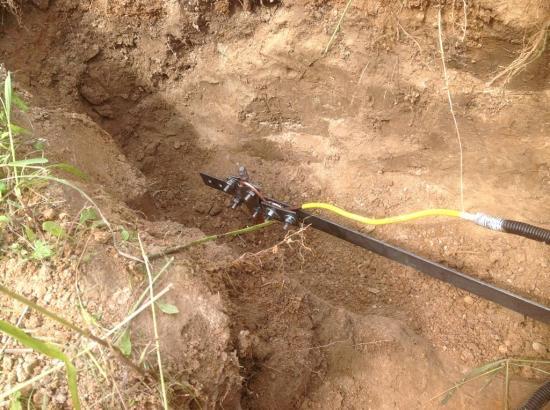
Running the cable into the house
Protection of fixation place with the help of insulation tape
Embedded channel
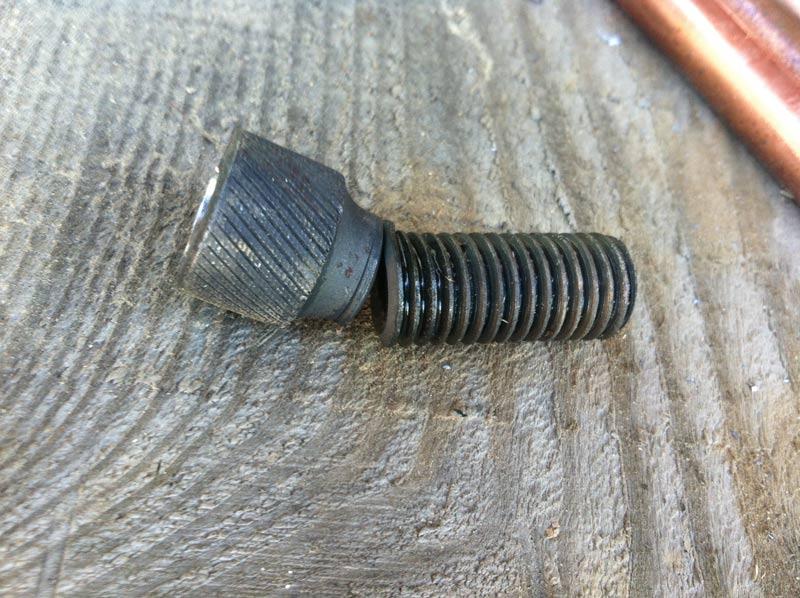
Damaged guide
We thank the author for the information and the ability to publish it for all readers. In addition to the said above, we want to give two explanations:
-
Driving stud damage. This is quite normal, since the guide is a consumable product, designed specifically to protect the coupler during assembly. That is why, 2 pieces come in the kit. They are enough for hammering ground electrode 15 meters long.
-
The third ground point. Should it be hammered or not? This question can only be answered by measuring the resulting resistance. If it exceeds 10 ohms, which were the target, it is necessary to set the remaining rods. Modular ground kit ZZ-000-015 is universal for the objects with almost any type of soil. For its better operation, it is recommended to use all the parts.
Related Articles: