Webinar text. Page 2 |
|
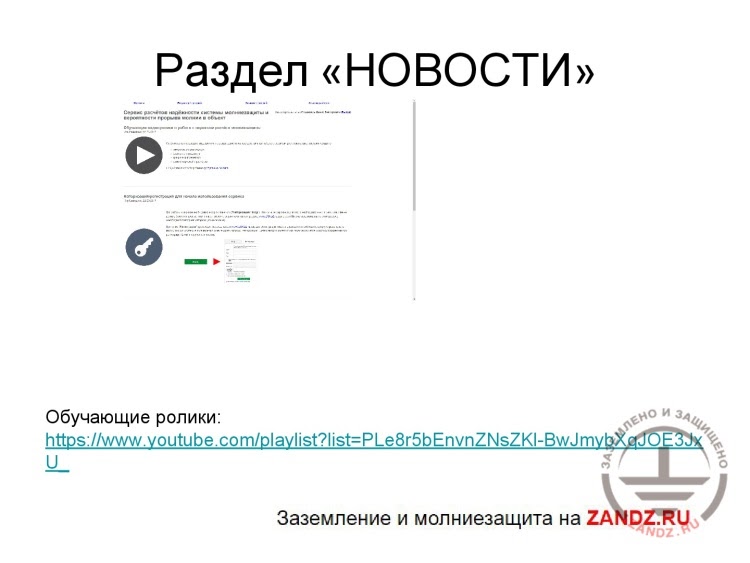
– The "News" section is the first and the main page you can see. The main essential information is published here: tutorials on how to use the service in details, registration rules, navigation, update news. It is the relevant information related to the calculation service.
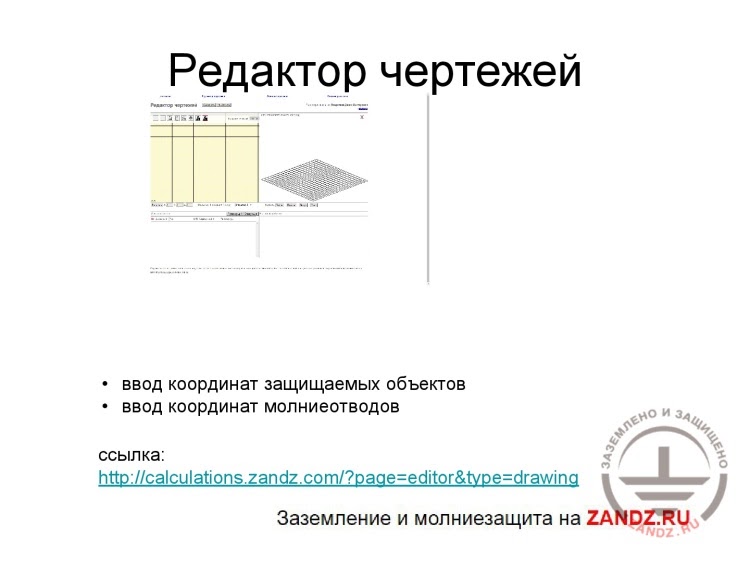
– Next, there is the "Drawing editor" section. Let's see what it is. The "Drawing editor" looks like this. We can see the coordinates system with an X-axis and a Y-axis and the option to create a Z-coordinate. It is required to describe our facility here and install the lightning arresters. The simple shapes are used, such as: a vertical line, a horizontal line, a 3D box, a cylinder, and a hemisphere. You can look at each element in more details in our videos provided in the "News" section. I offer you to study the particular calculation example. We will discuss how we can do that as we go. Let's try to calculate a simple private house, e.g., having the size of 8 x 10 meters, the walls height of about 5 meters, a V-shaped roof, a ridge of the roof that is 8 meters high, i.e. the roof is 3 meters high. What do we do for that? We take a 3D box. The working space is a grid with cells, wherein the scale of a cell is 1 meter. You may modify the scale. In the center, under the working space, there is a "Scale" tool. It can be zoomed in or zoomed out depending on the size of your facility as long as it is convenient for you to provide the details. For clarity, you can also choose a 3D model of the facility. In the upper right corner of the working space, you can see the "3D" label. If you press it, you will obtain the side view that allows observing your facility. Now, we will try to draw a private house and see how it looks like. Let's install lightning arresters and see what we obtain as a result of this. So, what do we need to describe a simple private house with a V-shaped roof? We know the house size; it is 5 x 8 meters and the height is 5 meters. So, you take a 3D box and you can draw immediately on the cells if you want to. If you have got certain dimensions, coordinates or if you use AutoCAD, there are some additional windows where you can edit the objects under the working space. It means that if we, for example, draw a 3D box and define its height, then, after you have drawn it, the next window "Set height" appears. We know that the height is 5 meters. We enter 5 and press "Set" and the 3D box like this appears. How can we size it? We can enter the coordinates manually. We have got a list of objects on the left under the working space, and the selected object on the right. These are the characteristics for calculation to describe this facility. We have got the 3D box. Let's define its dimensions, e.g., 5 x 8 meters, i.e. we can define the first point x = 0 and y = 0 and we can go further from the point, respectively. Along x-axis, we will have a house that is 8 meters long and about 10 meters wide and has a height of 5 meters. We also have got an angle. You may enter the angle, and the shape chosen in the list will turn. We can also turn it using additional tools. They are described in our videos. You can watch them when you have some spare time. Now, we will make calculations. Enter 10 and press the "Save" button. We have got a contour of our facility. We cannot see it here but we can zoom it in a little bit. Enter "-1", and the scale will be proportionally enlarged. This way we can see the entire facility. Then, to describe the V-shaped roof, we need to use the horizontal lines, which will be closed to delineate the roof planes. So, we take the horizontal line and point to it. We have got five lines: four lines along the facility edges, and the fifth line is the ridge. We point to our first line, and the "Enter parameters" window appears. These parameters are, respectively, heights of the first and the second points of the line. The first point had the coordinates (0;10), i.e. in this case, the line height will be 5, and it is a wall height, and the height of the second point is...; we used the roof of 3 meters high, therefore, the ridge height is 5 + 3 = 8 meters. "Slack" is used when this line represents the protected facility or a wire, i.e. the lightning arrester, then if we calculate the wire lightning protection, we must specify the slack. We have got no slack in this case. We have got a straight line, so the slack is equal to 0. I press the "Set" button. The line appears. We can see it in the 3D picture. Let's correct the coordinates a little bit. Here, the second object called "Line" has already appeared. We can see that it is active. Let's correct its coordinates. We have x1 = 0, y1 = 10, x2 = 4 because the house is 8 meters wide. The following functions are available for the selected objects: its number is specified; "Active" means that it is shown in the objects list and is involved in calculations. "Type" means that it is a line, and we also have got the "Lightning arrester" option. If the checkbox is unchecked, then, by default, the software considers this object as the one to be protected. If we check the "Lightning arrester" checkbox, it will be used as the lightning arrester. When we perform calculations for the complex facilities, such as high-rise buildings, there are such objects as railings, metal roofs, covers; they may be shown as rectangles, as the wires and, respectively, we can assign the value "Lightning arrester" to them. But since we are describing the house contour, we do not need to check this box. Now, to avoid entering the lines each time, and we have got five of them here, a function called "Create a copy" is available in the right navigation corner. We press this button, and absolutely the same object appears in the objects list with the same parameters that we can adjust. And the same x and height coordinates are shown in the parameters. It means that, in this case, we have got a point (4;10) at the height of 8 meters; and, accordingly, to make the proportional line, we enter 8, i.e. the width of our house, and the second line appears automatically. We do not enter other parameters. Based on this principle, we can create all wires just by changing the y-coordinate. You can see that this line was created automatically. And we have got one line left, which is our ridge. We create a copy, choose the parameters, and enter coordinates, y = 10 and x-coordinate that is common and equal to 4. We also change the height to 8 meters. We have made a contour for our house. A 3D box represents a wall and wires that go around the roof. Now, we need to install the lightning arresters for the calculation. In this case, we use the vertical lightning arresters that are secured to the ridge of the roof, and we represent them with a vertical line. It means that we install two lightning arresters on the edges of the roof. The total height is 8 meters. Let's take 2-meter lightning arresters. So, our total height will be 10 m. You may enter any height, i.e. decrease or increase the height, if you have not obtained the required parameters. We set 10 meters, and the line is shown here. We should correct these parameters to permit the software to recognize it as the lightning arrester. Then, we enter coordinates x = 4, z = 10 here. These are the edges. The height is 10, and we must check the "Lightning arrester" box; press "Save" after that and create another one. It means that it will be our second lightning arrester located on the opposite side of the roof. It has got the same parameters. If we have checked this box, use "Lightning arresters". In the objects list, I repeat, when you enter the entire system and want to check it visually, there is a row in the table that is called "LA", which means lightning arrester. Hence, point means that the object is a lightning arrester. After you have entered all of these parameters, you can adjust any of them. When clicking in the objects list, it will be highlighted in red. After you have entered all parameters, described the object entirely, and specified all lightning arresters, you have to press the "Save" button before the "Drawing editor" in the upper right. The next window "Lightning strike density per 1 sq. km of the earth surface per year" appears. In Appendix 2 to RD 34, the map of the lightning strike density is provided, i.e. based on it, we can additionally calculate the density. We can use the same regulatory documents, i.e. Appendix 2 to RD 34, for this. Let's assume that the house is located somewhere in Moscow, and the strike density will be 4. After that, press "Save". My drawing has been successfully saved.
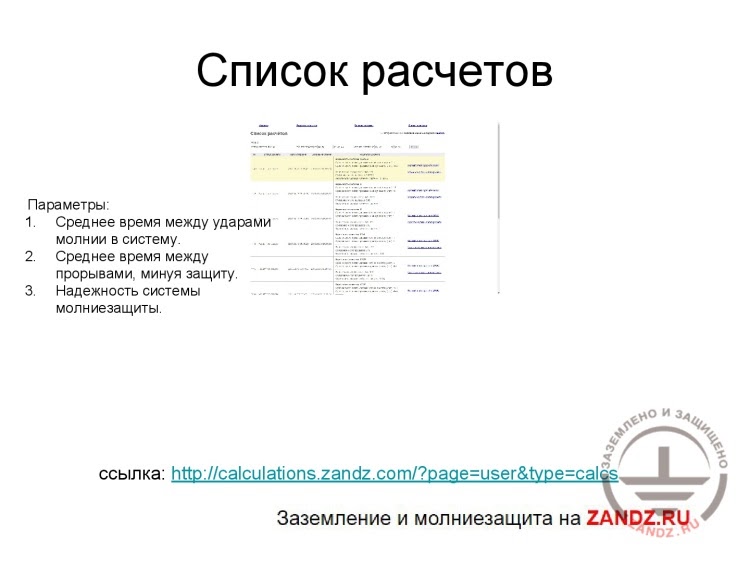
– After you have pressed "Calculation", we go to the "Calculations list" section. Its status is shown. In this case, its status is shown as a drawing and is queued up for calculation. It means that the calculation is being performed. Depending on the object complexity, the calculation takes not more than 2 minutes. We are going to update the page now. We have updated it and we can see in the calculation status that it is complete. What do we look at? We have got a sending date, a calculation date, a serial number there. As a registered user, you will have your own statistics. We can also see the calculation results. Let's see what we get. The most essential parameters are shown first. I have highlighted those three parameters. They are calculated on the basis of the parameters shown below, i.e. we have got the full number of strikes into the system per year, the total amount of the lightning breakthroughs that missed the lightning protection system per year, and the probability of the lightning strike into the system objects. What do these parameters mean? These are the values: "Full number of strikes" and "Total amount of breakthroughs", both are shown on a yearly basis. To switch it over from frequency to time, which are reversely related values, we recalculate it using the method and obtain the following result: the average time between the lightning strikes into the system is 67, i.e. once in 67 years. The second parameter is the average time between the lightning breakthroughs that miss the lightning protection system, i.e. in this case, it is once in 7,143 years. It means that this parameter, "Average time between the breakthroughs that miss the lightning protection system" is very important in terms of evaluation of the need to provide the lightning protection system. By the way, if we can, using the software, calculate and see the probability of the lightning strike, then it will be the average value between the lightning strikes into the system, and see how often the lightning strike into the object will occur. Based on these two important parameters, we look at the following: first, how often the lightning breaks through, and, thus, we can evaluate if we have to make the lightning protection under specific conditions. The second point: when we have got the lightning protection system, we can consider its efficiency. We understand that if the lightning strikes once in 7,143 years, which is the time between the lightning breakthroughs, we can see that the system is sufficiently reliable. And now, we have got such parameter as "Probability of breakthrough into the system object". So, 1 minus this value is used to obtain the reliability of the lightning protection system. We can see that, in this case, using two lightning arresters of 2 meters high we have got the reliability of 0.99, which is a very good value, and it means that the lightning protection is very good. On the right, we have got one more row "Create a drawing from this calculation" and "Full report on calculation". When we press "Create a drawing from this calculation", we will get back to the drawing editor, and this particular drawing will open. I have got many of them, and we can open any of the previously calculated drawings and change the decision.
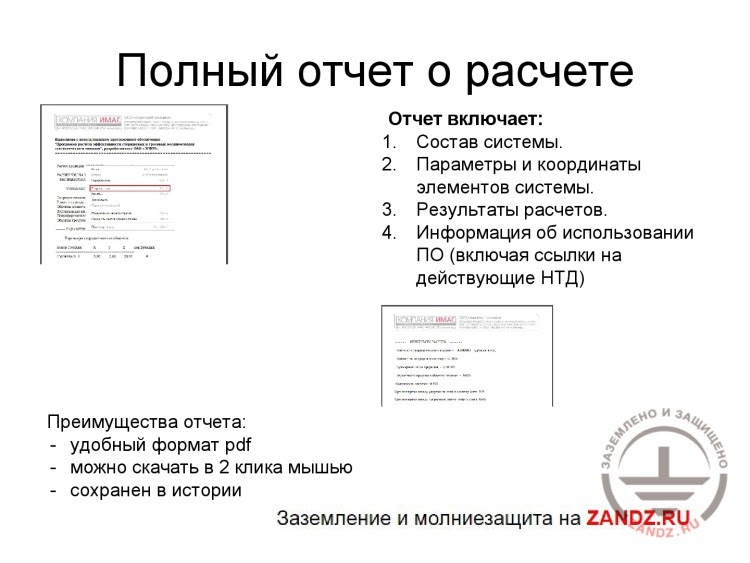
– The report will be generated as follows. The calculation date is shown: day, month, year; the components of the system are shown. In this case, we can see that we used 5 wires. We used them to define the plane of our V-shaped roof. Further, the objects having a rectangular cross-section. We had one object, we used a 3D box to define the wall of a house. Other objects were not involved in calculations; therefore, they are shown as zero. Then, the parameters of the system’s elements are shown, i.e. the coordinates we have entered before. They are recorded in this report. So, if you generate several reports and you need to create some statistics on what values we had in different systems... to record this... it is shown in the report, i.e. parameters with all coordinates and functions. "Function code" has a value of 0 or 1. Zero function means that it is a lightning arrester, while 1 means a facility to be protected. Here, all coordinates are shown. We will not look into them. The calculation results are shown that we have already seen. And then, the information is used with the references given to the regulatory documents governing the use of this software. It is document SO-153-34.21.122-2003, item 3.3.1, wherein the information is contained that we discussed before to calculate the complex systems, although we have considered the simple exemplary system. However, if you make calculations for a complex system, you can do that using the software by either a conventional method, as it is allowed in the regulatory document, i.e. the calculation for the protection zones. Item 3.3.1 specifies that, in order to make calculations for the system, it is recommended to use the computer software. Today, it is the only service that enables it. Moreover, we also have got Technical Bulletin No. 25/2009 of the "ROSELECTROMONTAZH" association, "ON THE USE OF THE SPECIALIZED SOFTWARE FOR CALCULATIONS OF EFFICIENCY OF THE PROTECTIVE EFFECT OF THE LIGHTNING ARRESTERS", which states that such efficiency calculation software for rod and wire lightning arresters using the statistical method developed by the Krzhizhanovsky Institute under the guidance of Eduard Meerovich Bazelyan, is also described in this Technical Bulletin and approved for use. The report looks like this. If we turn back, we will get back to the service.
<< Previous page Next page >> |
Related Articles:
 Webinar "Calculation of Lightning Protection Reliability for Any Facility for 30 Minutes using the ZANDZ Calculation Service". Page 1
 Webinar "Calculation of Lightning Protection Reliability for Any Facility for 30 Minutes using the ZANDZ Calculation Service". Page 3
