The fourth webinar of the series “BIM Design: From Fundamentals to Practice”
(held on June 20, 2018 at 11:00 Moscow time)
The webinar plan:
- BIM definition, its advantages;
- project lifecycle definition;
- basic software;
- principles of work in the BIM model;
- BIM department and manager, basic functions.
720p full screen watching is recommended.
Webinar text. Page 1
Fast navigation by slides:
Page 1:
1. Creating architectural and structural elements.
2. Plan
Approximate reading time: 42 minutes.
Creating architectural and structural elements
| BIM проектирование в Revit. Создание архитектурных и конструктивных элементов | BIM Design in Revit. Creating Architectural and Structural Elements |
| ZANDZ.ru, июнь 2018 | ZANDZ.ru, June 2018 |
– Good afternoon, dear colleagues! Let's begin.
– Good afternoon, Stanislav!
– Good afternoon for everyone.
– So, let's begin. By tradition, let me say several introductory words. Today, we have a webinar titled “BIM Design. Creating Architectural and Structural Elements in Revit”. The speaker is Stanislav Vozchikov, the BIM modelling specialist and the certified Autodesk Revit Professional specialist. Let me remind you that it is our fourth webinar of the series titled “BIM Design: From Fundamentals to Practice”. The next webinar of this series will be held on July 18. We will send the link to the webinar series in the chat. Please register so that not to miss the events. I will tell you a small secret: a book by professor Eduard Meerovich Bazelyan, titled “Electromagnetic Compatibility with Lightning” is being published now. In connection with this, we have scheduled the webinar series with Eduard Meerovich dedicated to his new book for July. The first webinar from this series titled “Electromagnetic Compatibility with Lightning. Statement of a Problem and Main Issues” will be held on July 4. I am also going to send the links for registration in the chat. Moreover, let me note that this webinar series dedicated to the new book will include at least three webinars. They have also been scheduled and they will be held in the beginning of each month starting from July. I have sent the link to the chat. In addition to the information on the website, you can also get the information on new events in our social media groups. I will also send the links to the chat. Join the social media groups or register at the website. Do not miss the relevant events. So, here are some organizational aspects: our webinar will take 60 minutes. We will answer your questions in the course of the webinar in the chat and additionally at the end of the webinar, if necessary. I ask you to write questions in the “Questions” tab and I will answer the frequently asked question right away: the webinar record will be published on the website and then sent as a link to the e-mail you used to register for the webinar. I urge you to be active, leave your comments in the chat, and ask questions. I have finished the introductory word and I give the turn to the speaker. Stanislav?
– Thank you. Let's begin. Our subject today is rather general: “Creating Architectural and Structural Elements”. We will study it using a small object as an example. What plan do we have?
| План | Plan |
| Создание вертикальных элементов (несущие стены, архитектурные стены, отделка, колонны) | Creating vertical elements (bearing walls, architectural walls, finishing, columns) |
| Создание горизонтальных элементов (несущие перекрытия, полы, балки и тд.) | Creating horizontal elements (bearing intermediate floors, floors, beams, etc.) |
– Our plan is short. We should study vertical elements, how they are created (walls, or architectural or structural, columns), and horizontal elements (various floors, intermediate floors). We will also study the elements such as beams, columns with column caps, etc.
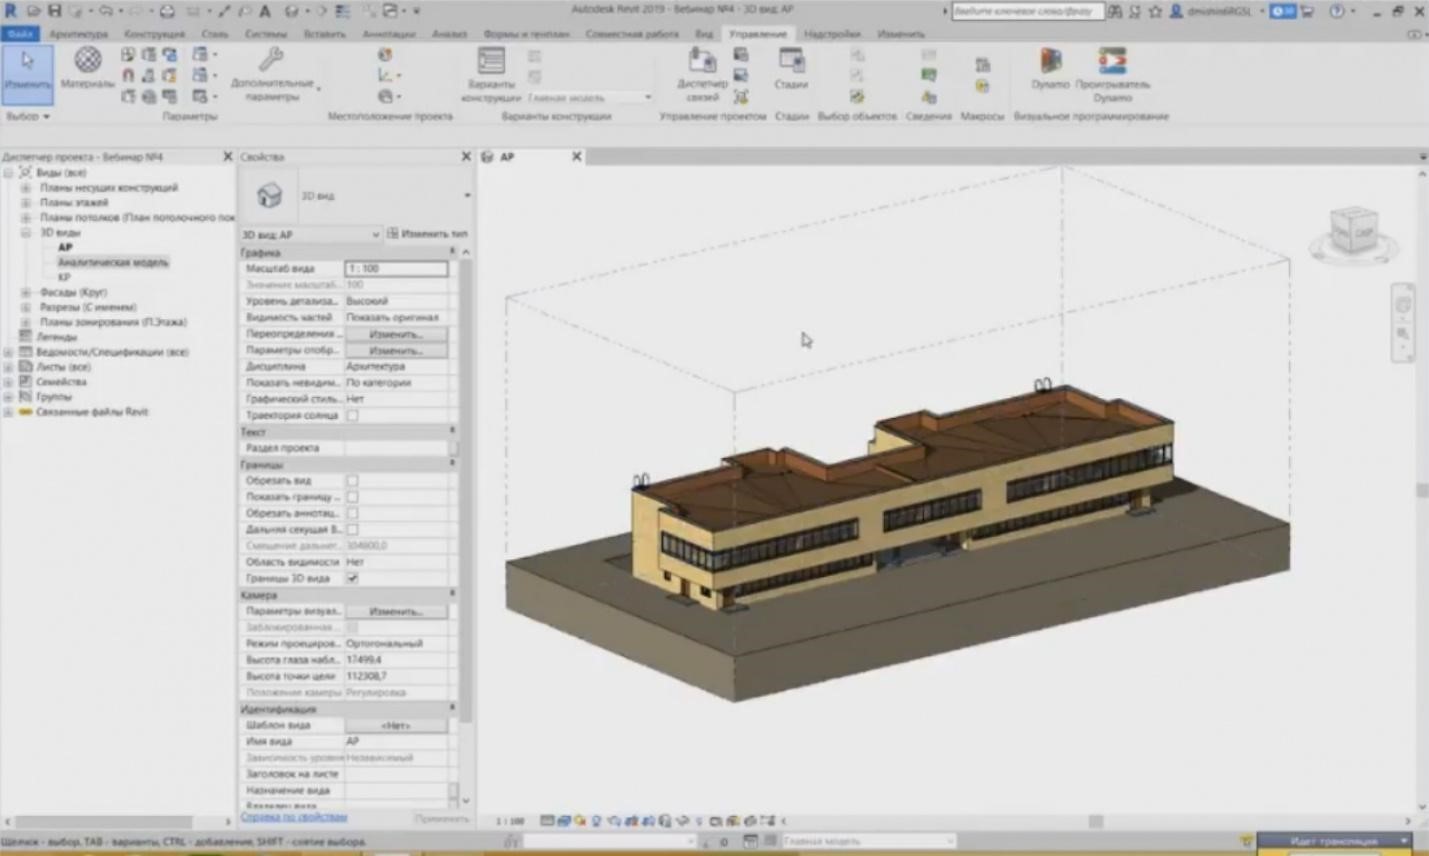
– I will go directly to the view with Revit. I will show you the object. This is a small community building, an annex to the residential building; the residential building is not shown. There are no utility systems, only the architectural and the structural parts are shown. You can use the Project Browser; several views have been created here. The architecture shows everything, i.e. all external walls, all internal partition walls, doors, windows, curtain walls, etc. And the structural part shows only the structural elements, such as intermediate floors, beams, columns, etc.
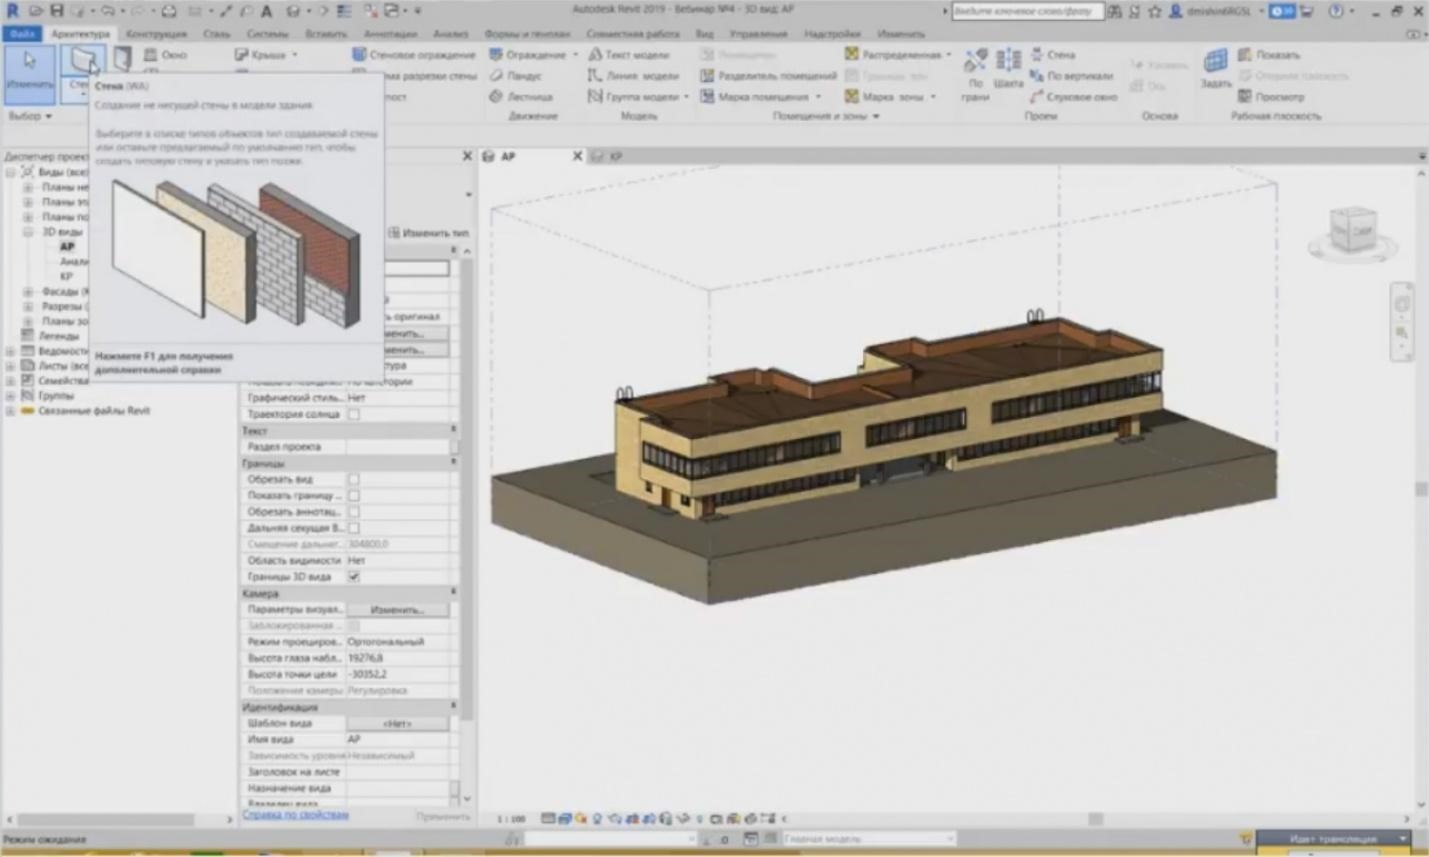
– Let's start our study with the walls. Probably this is the first thing to start the project, i.e. after the axes. The walls are created in the “Architecture” tab or in the “Structure” tab. Here, in the “Architecture” tab, when you press it, an architectural wall is created automatically.
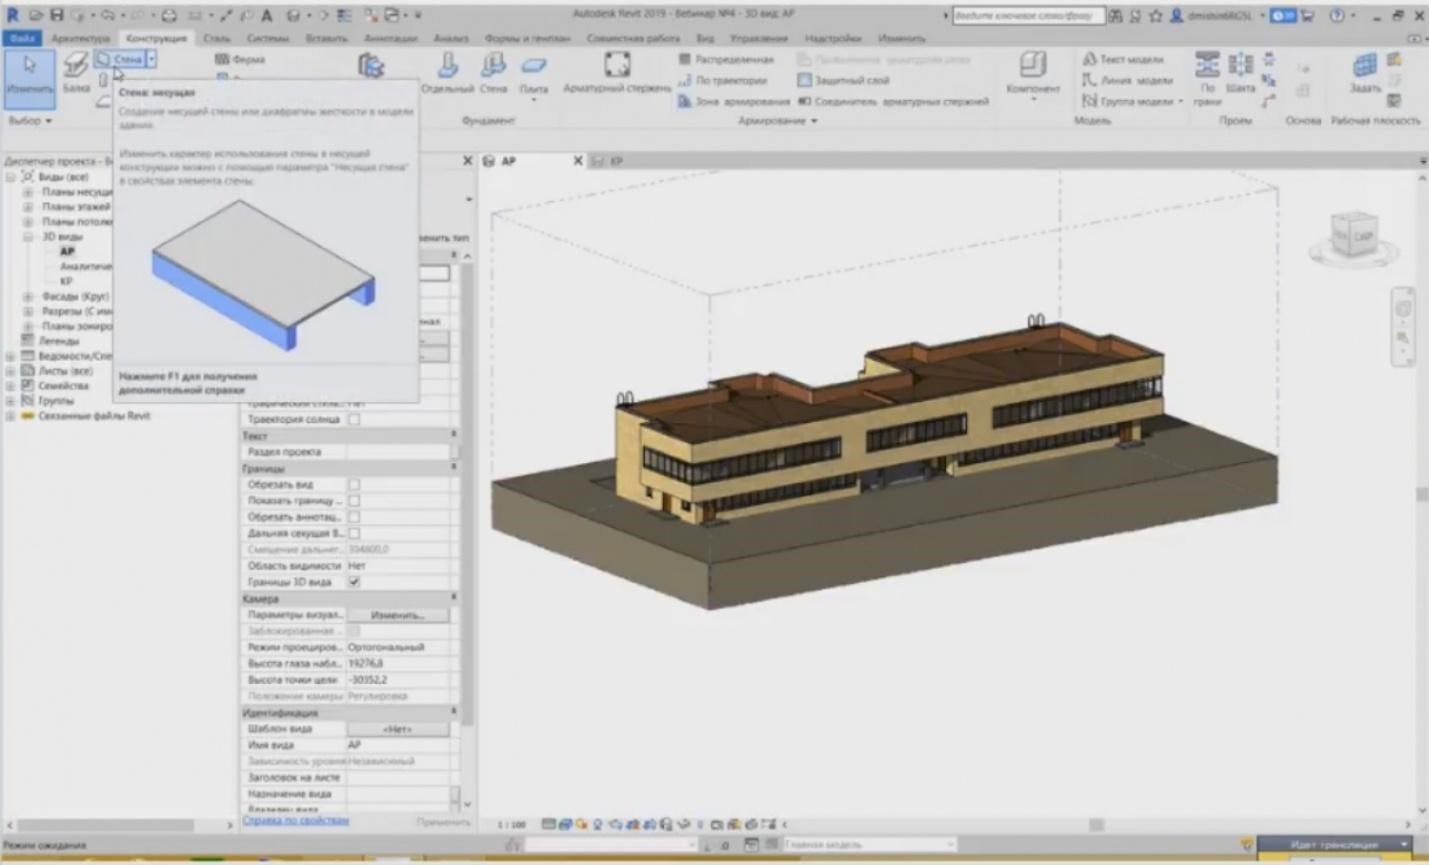
– If we define it in the “Structure” tab, then a structural, bearing wall is created automatically. What is the difference between the two walls? The difference is that one of them has an analytical model for further calculations, while the other one does not. And, thus, you can provide reinforcement for one of them and you cannot do that for another one.
Next page >>
slides from 3 to 4
Related Articles:
 Lightning Protection of Large Territories: Parks, Grounds, Plant Territories. Page 1
 Lightning Protection of Large Territories: Parks, Grounds, Plant Territories. Page 2
 Lightning Protection of Large Territories: Parks, Grounds, Plant Territories. Page 3


